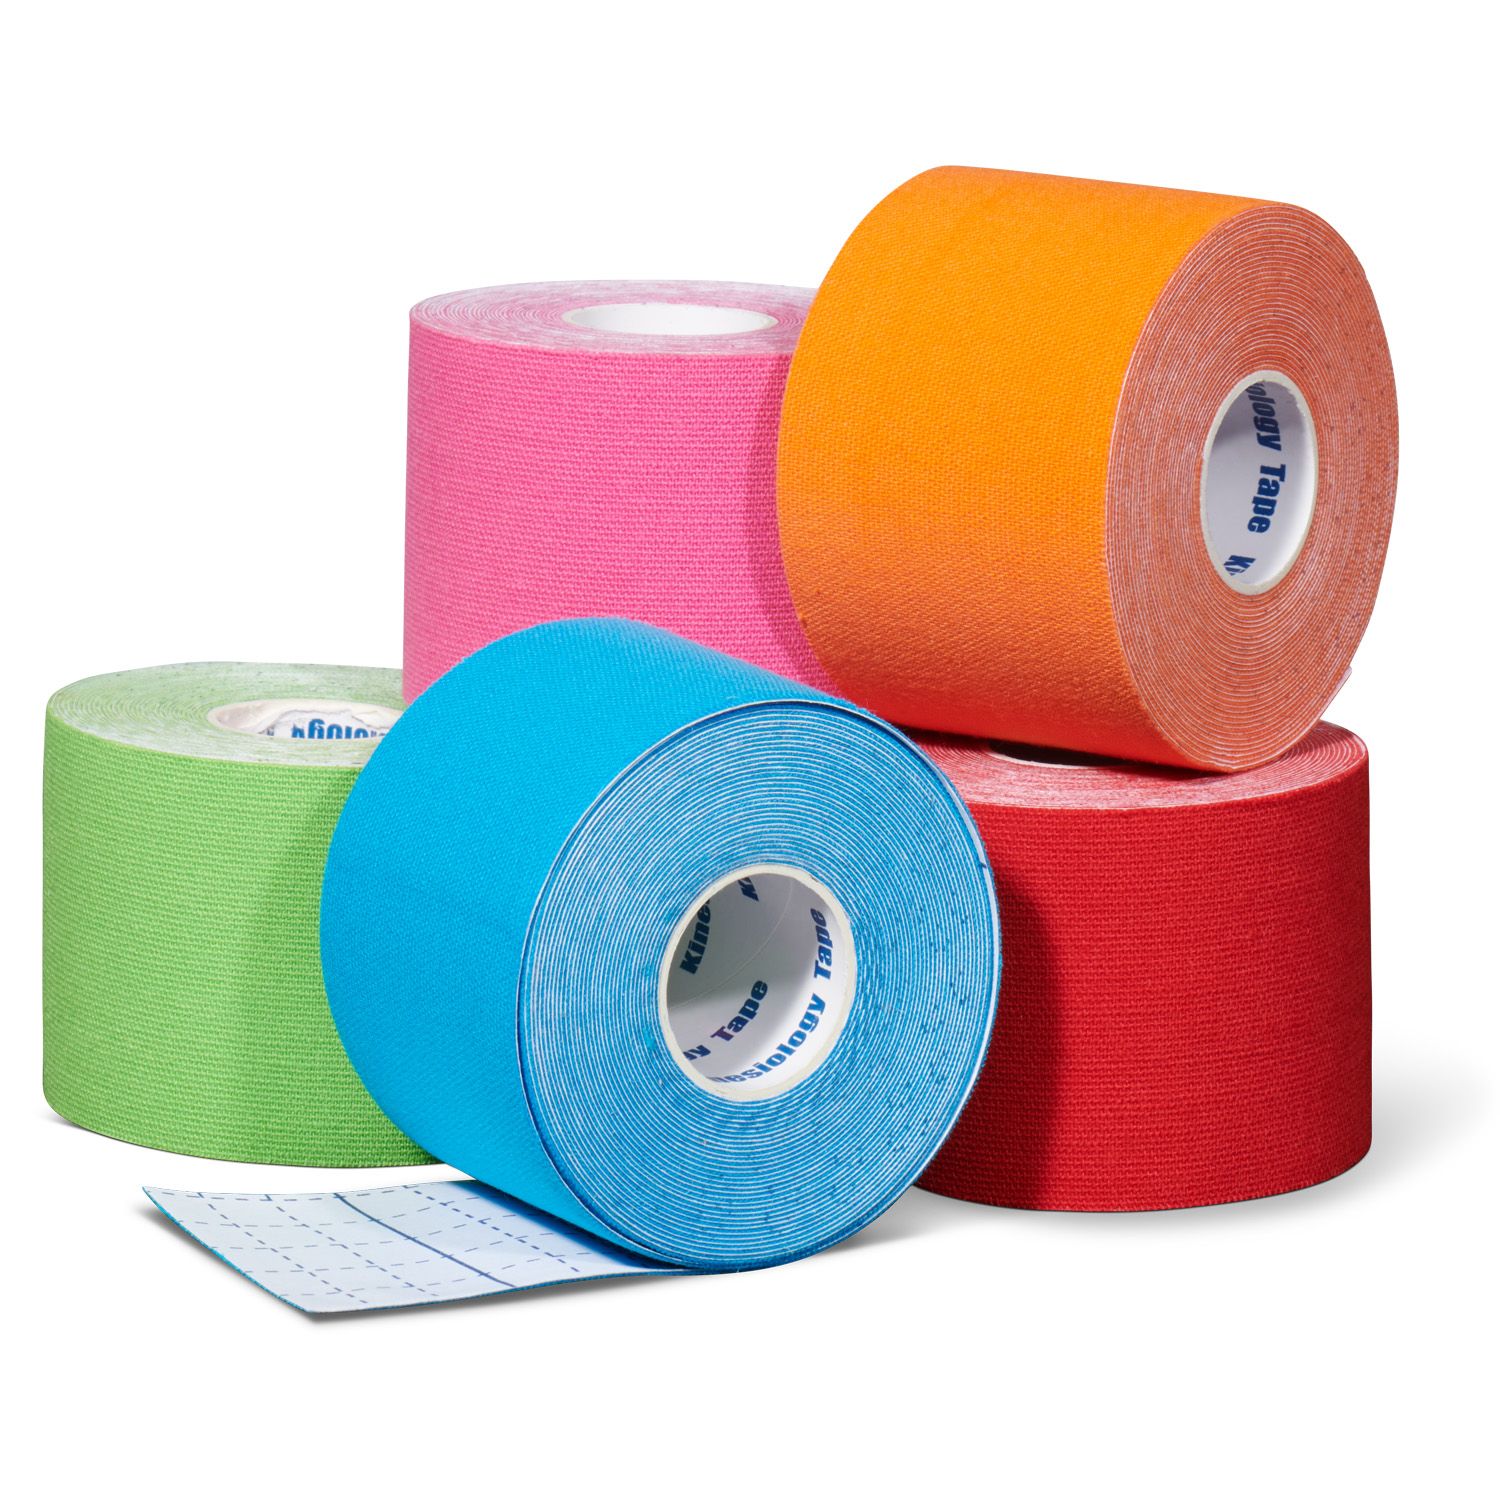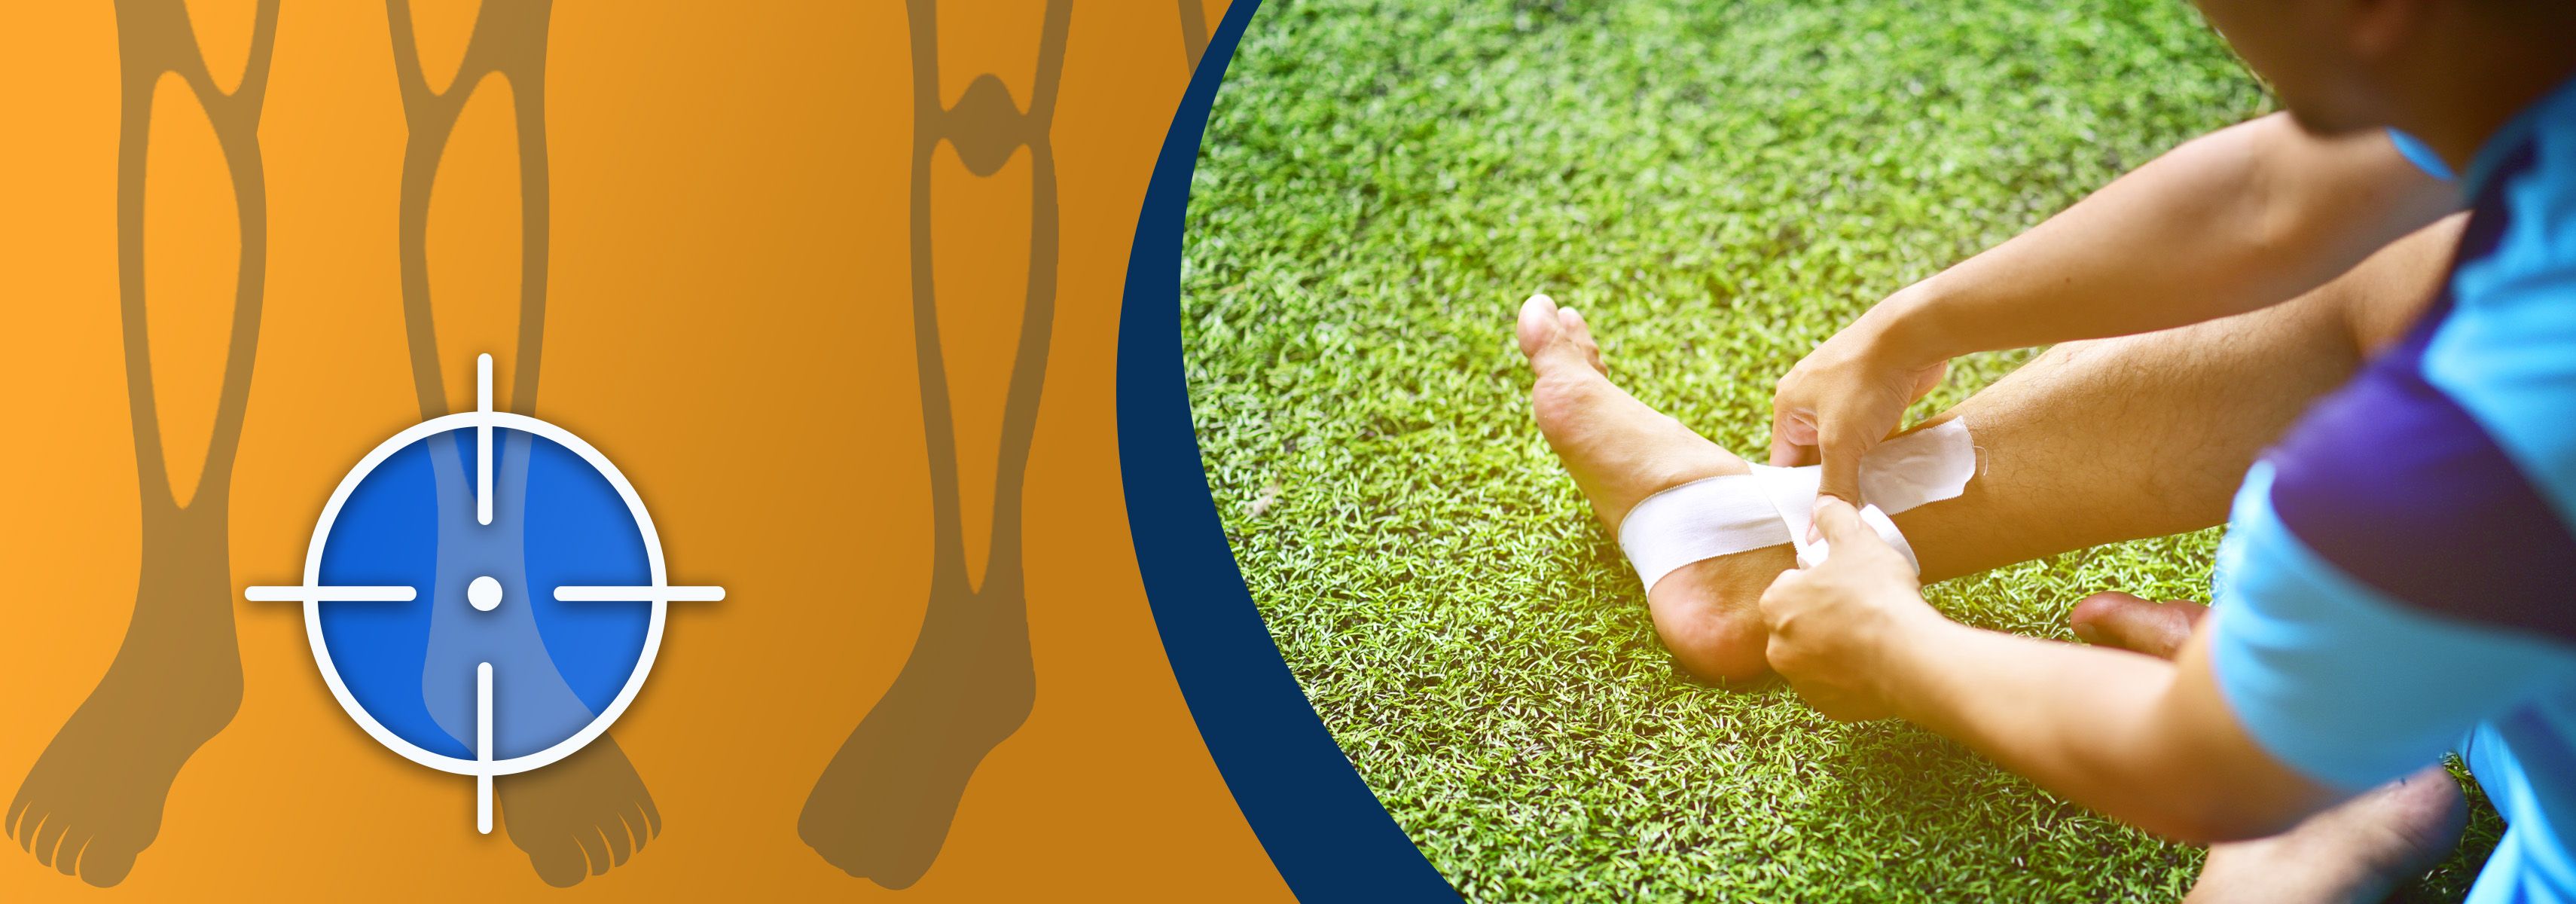
A sprained ankle can be painful and limiting, but with the right support you can speed up recovery and get back on your feet quickly. Taping a sprained ankle is an effective method of providing stability and support. In this blog, we explain step by step how to do this the right way. Here is a step-by-step method of taping a sprained ankle with kinesiology tape.
Step 1
Preparation:
- It is important to wait until the swelling has subsided (this is usually 3-5 days after the injury).
- Make sure the skin is clean and dry.
- Depilate the area where the tape will be applied for better adhesion.
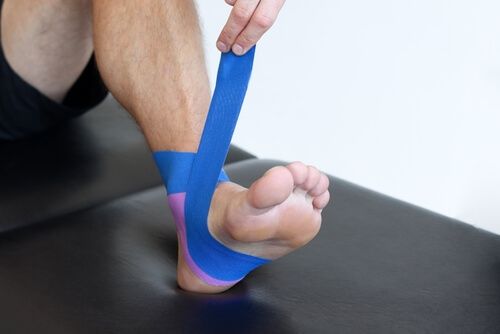
Step 2
Place the sprained foot on a stool or elevation so you can easily reach it. Measure the length of the tape from the top of the inside of the ankle, diagonally across the ankle joint under the foot, through the ankle joint to the outside of the ankle. Cut the tape about 5 centimetres shorter than you measured. When applying the tape, the tape will be a little longer.
Step 3
The first strip:
- Start on the inside of the ankle, about 5 cm above your ankle bone
- Guide the tape under the foot and diagonally across the foot to the outside of the ankle.
The second strip:
- Repeat step 2, but in the opposite direction
The third strip:
- Apply a strip under the foot, ending at the bottom of the tibia
Finish:
- Rub all tape strips well for optimal adhesion.
Keep in mind that taping an ankle can be tricky to do yourself. You can also have it done by a physiotherapist if you are not sure that the tape fits properly. The tape can usually stay in place for 3–7 days and can be left in place while showering.
When is it better not to use tape?
Kinesiology tape can be used safely in most cases, but there are some cases where it is not recommended:
- If there is severe swelling or suspected bone fracture.
- In case of skin irritations or an open wound.
- In case of allergies to tape or glue.

Need additional information?
After reading this article, do you still have questions or want to know more about using kinesiology tape? Then please contact our customer service team. They are ready to answer all your questions and get you back on track. We can be reached via phone, live chat and e-mail.